Followers

About Me

My photo
Shy at first. Like getting and giving hugs, like my own company but like having 1 on 1 time with my friends. Not keen on big changes. Like to know what's happening!

Saturday 22 October 2011

CBGM - TRANSPORT CHALLENGE

Hello everyone and welcome back to my blog.

I'm living away from home at the moment dogsitting for a friend, so I'm a wee bit behind with the post as I'm usually all pre-scheduled a couple of weeks in advance!  But I'm here now, the night before!  My card was actually made earlier on this week, but unfortunately, I haven't been able to upload it onto here until; now!

Courtesy of Creations By Gill M, this weeks challenge is to make something with a transport theme.

My cousin is in the Dingwall Gaelic Choir and is taking part in The Mod, which is a big music event.  She had to make her way over stormy seas on a ferry to Stornoway yesterday to take part, what a thought!  She got there safe though and I'm pleased to announce, that the Dingwall Gaelic Choir won the main group competition!  Such an achievement!  Anyway, I was thinking about her going on the ferry whilst making this card!

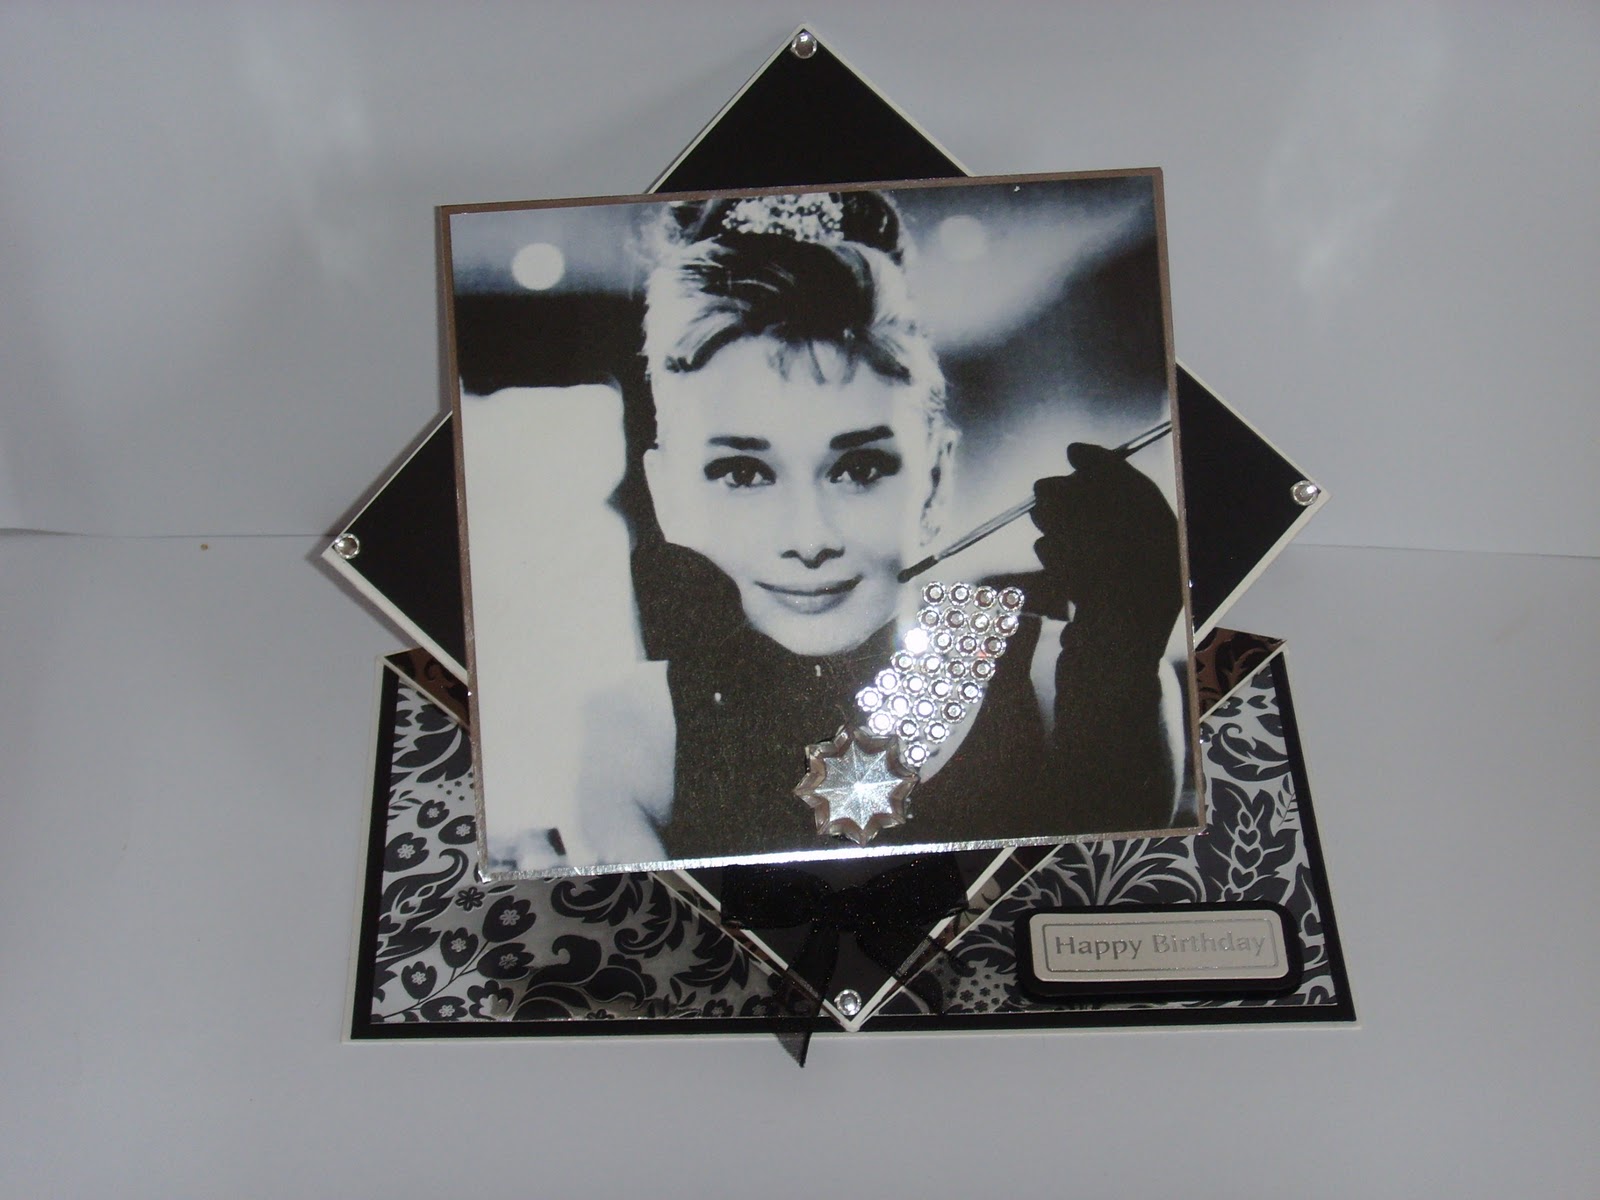
So, without further ado, here is my transport themed project:


It's a wee bit blurry, so apologies for that.

It's an A6 card, with the fold at the top of the card.  I covered the card with a navy shimmer card which I inked around the edges with a white Papermania ink pad.  This was attached with double sided tape.  I used the Forever Friends The Good Life Decoupage Pack to decorate the card and used Pinflair glue to build up the bear image.  The strip of spotty card along the bottom of the card and the circular boat paper is also from the pack.  I used my X Cut Cutting System to cut the circle for the boat paper and attached this with pinflair glue also.  I then cut out a small anchor from the pack and attached 4 blue adhesive gems on either side of a "happy birthday" embellishment which was attached with 3D foam.

Fancy giving it a go yourself?!  Then pop over to The CBGM Blog for details of the challenge.  If you wish to enter the current challenge, just create a link to your blog post featuring your transport themed project and use the Mr Linky on The CBGM Blog.  Remember to click "FOLLOW" on The CBGM Blog, andit would be great if you became of follower of mine too!

I love going through the challenges and seeing what everyone else has made, and I'm sure the other Design Team Members love seeing your creations too.  I always leave feedback, and love receiving feedback too!  So if you do look at my project, please leave me some comments!  And do the same for the other Design Team Members too!

Good luck!

Lisa xxxx

Saturday 15 October 2011

Hollywood Stars Blog Hop


Ladies and Gentlemen.......drum roll please.............Welcome to the Hollywood Stars Blog Hop!!

It's going to be a star studded day, so get your autograph books at the ready!  Remember to watch out for the divas and the divos though!

You should have walked along the red carpet from Lisa T's Blog and arrived in a glamorous style at my blog.  If you haven't, start your red carpet journey through the fabulous Hollywood stars at Gill's Blog.

Now though, it's time for the premier of my Hollywood star in her crafting debut!  So, without any further a-do, ladies and gentlemen, please give a warm welcome to.....Miss Audrey Hepburn!


To make this diamond wobble card, I used an 8x8 card blank.  I scored the front and back of the card blank at 4", so that there is a vertical score line at 4", 8"(the centre score line) and 12".  Fold one of the 4" score lines back behind the card blank.   This can then be glued to the card base to give it more stability.

Then, on the other side of the centre score line, score 2 diagonal lines, one from the top left hand corner to the bottom right hand corner, at the centre score line, and then from the bottom left hand corner to the top right hand corner, at the centre line.  Fold these score lines well.

Turn the card blank round so that the score lines are all horizontal to you.  Squeeze the sides of the diagonal folds in towards each other so that a centre point V shape is made.

Once the base of the card has been decorated, the V shape can be attached to the base.

To make the main image, a square matt and layered image is attached to the front of the card.  I used black and silver card to decorate the card as well as a black ribbon bow, Happy Birthday sentiment, black card and silver adhesive gems.   I found the image on the internet.

The card looked fab when it was finished,if I do say so myself!!  I'd love to see if you manage to follow these instructions and see pics of what you've made,.  Please feel free to leave comments, including feed back.

The next Hollywood star to visit is in Anita's Blog, so get your glad rags on and go visit them!

Thank you so much for stopping by and visiting my blog.  Please leave me a comment, I'd love to get your feedback, and please feel free to follow me!  You can do this by clicking the "FOLLOW" button at the top left hand corner of my page, right up the top!  All the other bloggers would love to hear your comments too, so remember to leave a comment for them too.

Take care

Lisa xx


Saturday 8 October 2011

CBGM - VINTAGE WEDDING & LACE CHALLENGE

Hiya Everyone and welcome back to my blog!

This week's challenge from Creations By Gill M is to make a card with a vintage wedding and lace theme to it.

I've so enjoyed being on the Creations By Gill M Design Team, however this is probably my least favourite challenge to date!  It's just not my kind of theme at all, I've never used lace before, I'm not keen on vintage themes and I just didn't know where to start!!

But somehow I managed, and here is what I made:


This is a card of my Grandparents (my Mums parents) on their wedding day.  Unfortunately, they've both passed away, however if they were both still alive, they'd be married for 61 years this year and my Grandad would be 105 and my Granny would be 91!

To make this card I scored a piece of cream hammered effect card in half to make an A5 card.  I covered the front of the card with a piece of dark brown card, leaving a small border around each edge.  I matt and layered the main image, which is a photocopy of the original photo, onto dark brown card and a fawn coloured shimmer card..  I attached each layer with double sided sticky tape.  I dyed a piece of lace in a cup of hot tea and dried it with kitchen towel.  I then cut the lace to size and attached it down the left hand side of the card with hi-bond tape and also along the bottom edge of the photo.  To finish the card, I applied a gold "Happy Anniversary" peel off and 4 small gold gems.

As I said earlier, this is one of my least favourite challenges, but throughout the time I spent finding the right photo to use, I found out quite a few interesting facts about my family and their past.

Also, as I previously said, unfortunately they've both passed away, so my Mum is going to keep the card and put it into a box which has other photos and memorabilia from their lives.

You can take part in this challenge as well.  Just go along to Creations By Gill M blog, fill in the Mr Linky with your details, link your blog post to Gill's Blog and make sure you mention the challenge in your post.  Oh, and you have to be a follower of  Creations By Gill M.  Simples!

Good luck!  Can't wait to see what you've made!  Myself and the rest of the  Creations By Gill M Design Team will check in every few days to see what everyone's made and leave some feedback for you!  We hope you will leave us some feedback for us too!

Thanks again!

Lisa
xx

Wednesday 5 October 2011

WORLD CARD MAKING DAY BLOG HOP - 5th OCTOBER 2011


YAY!  It's World Cardmaking Day!  This is going to be fantastic!  I can't wait to see what everyone has made for this blog hop!

This 5 day hop is being hosted by Gill McCall at Creations By Gill M from October 2nd 2011 - October 6th 2011.  You can get all the details you need for this blog hop from there, so head on over there now.  You should have arrived at my blog by coming from April's Blog.  If you haven't, hop along to Gill's blog where you can start hopping in the right direction and order!

A lot of the entries in the blog hop are kindly donating their cards to charities in the UK and US. Which is so kind and thoughtful. 

Not only that, but 4 of the entrants are offering blog candy as sponsorship for the hop.  I'm sure you're with me when I say a huge thank you to them all for their generous donations.  Here are the details of what's been offered:

Crafty Catz -
A mega craft bundle, £145 worth of goodies!!

Bows & Berries
3 free digis of your choice.  Plus, for the "duration of the blog hop ONLY" , get 50% off any digis - just simply quote BB50 at the checkout .

Amy Shaw - craft presenter on  QVC -

A selection of Woodware goodies!! 

Creations By Gill M

A mega craft bundle, £50 worth of goodies!!

Amazing eh?  So, to be in with a chance of winning some of this blog candy, don't forget to comment on all the blog posts each day.  


The candy will be divided up into 3 top prizes, so remember to come back on each of the 5 days of the blog hop.


So, now to show you the cards I have made for this hop:

I used a From Me To You Decoupage Set to make the following 3 cards, using the toppers, decoupage images, backing papers and embellishments.  Other equipment used such as card stock, ribbon, gems etc are from my own crafty stash.


This is probably one of the best cards I've made!  I'm so chuffed about it!  Hope my friend liked it when she received it!

To make this Tatty Teddy card, I made an 8x8 white gatefold card.  I covered each side of the gate fold with pink dotty paper and then topped each side with a white floral paper and decorated these with clear adhesive gems.  The main image of the card was made by cutting a piece of pink shimmer card, covering it with yellow dotty paper and mounting a TT image.  To complete the card, I mounted 2 sentiments with 3D foam and made 3 bows in 
co-ordinating colours.  I also applied a pink gem to the butterfly on the main image.


This card was made for my sisters friend, Teela Jarvis.  They call each other by their surname, so my sister is G and Teela is J.  

To make this card, I made a 6x6 gatefold card.  I covered each side of the gate fold with dotty paper, alternate colours and then topped each side with alternating floral paper and decorated these with clear adhesive gems.  The main image of the card was made by mounting a TT decoupage image onto pink shimmer card.  To complete the card, I mounted a "Just For You" sentiment with 3D foam in the top left hand corner of the card.  I also stuck an adhesive letter "J" to the bottom right hand corner of the card.  To complete the card, I made a pink bow and attached it to the card with pinflair glue.


I made this card for my cousin Nicola's 15th birthday.

This 5x5 card was made using a lilac textured card blank.  I used pale pink and lilac card and mounted a topper image of TT onto them using double sided tape.  I stuck this onto the top left hand corner of the card,.  Using more pale pink card, I mounted a patterned border to the pink card and attached it to the right hand side of the card.  I decorated the card with card candy, adhesive gems, an organza ribbon bow and a "Happy Birthday" sentiment.


Finally, this card was for my cousin's wedding anniversary.

This card was made from free products received in a crafting magazine.  I made a 6x6 card blank and covered the top half with a deep red textured card stock and the bottom half with a rose patterned paper.  I cut a narrow green border and attached it across the middle of the card.  I then cut out 3 hearts with birds in the centre and attached these with 3d foam across the top of the card and the green strip.  I applied another layer of 3D foam to the central heart to give it more dimension than the other 2 hearts.  I then cut a small piece of green card and attached it to a piece of red card.  Finally, I used a gold "Happy Anniversary" peel off on the green card and attached it to the main card with 3D foam.  To complete the card, I made a small red bow and attached it with pinflair to the central heart.

So that's my card creations!  Hope you like them.  I'd love to read any comments you may have, and I know the other bloggers would love to hear your thoughts about their cards too.

Remember this is a 5 day hop!  It's a big 'un!   So please try and hop around all the bloggers blogs!

The next blog on the list after me is Melanie's Blog.

So hop on over and see what Melanie and everyone else on today's hop has been making!

Thanks for hopping by!

Lisa xx